Testing Ansible with VirtualBox

I have a few Raspberry Pi devices that I am going to add to my local Kubernetes cluster. Before I do that, I want to make sure that my Ansible playbooks work correctly. To test them, I decided to use VirtualBox to create virtual machines that mimic the Raspberry Pi environment.
Why Use VMs for Testing?
Using virtual machines allows me to test my Ansible playbooks in a controlled environment without risking any damage to my actual devices. It also allows me to quickly spin up and tear down test environments as needed.
Using VirtualBox, I can create multiple VMs with different configurations to ensure that my playbooks work across various scenarios. Additionally, VMs are in my opinion easier to manage for this use case than containers, as VMs provide a more complete emulation of a physical machine.
Setting Up VirtualBox
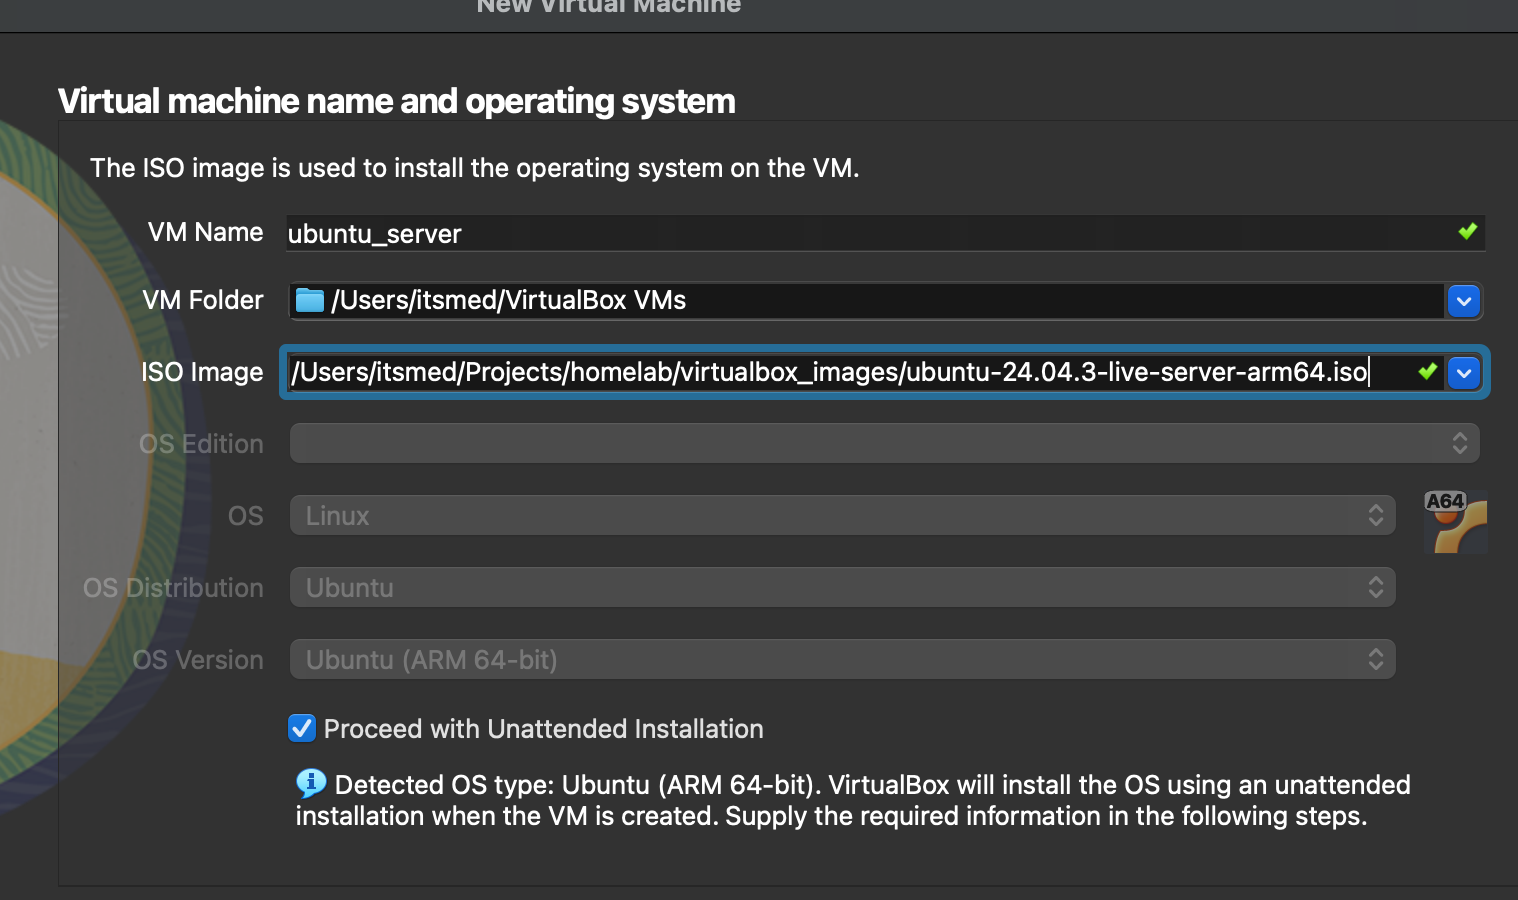
First download VirtualBox and install it on your workstation. Then download the ISO image of the operating system. In this case, I used Ubuntu Server 24.04.3 LTS for ARM. Once VirtualBox is installed, you can create a new virtual machine by following these steps:
- Open VirtualBox and click on
Newto create a new virtual machine. - Name your virtual machine and select
Linuxas the type andUbuntu (64-bit)as the version. Remember if you are on a non-x86 architecture to the appropriate version. As I am on an ARM-based Mac, I selectedUbuntu (ARM-64 bit)as the version. - Click the
proceed with Unattended Installationoption.
- Allocate memory (RAM) to the virtual machine. A minimum of 1GB is recommended.
- Create a virtual hard disk for the VM. Choose VDI (VirtualBox Disk Image) as the disk file type and allocate at least 10GB of storage.
- Go into the
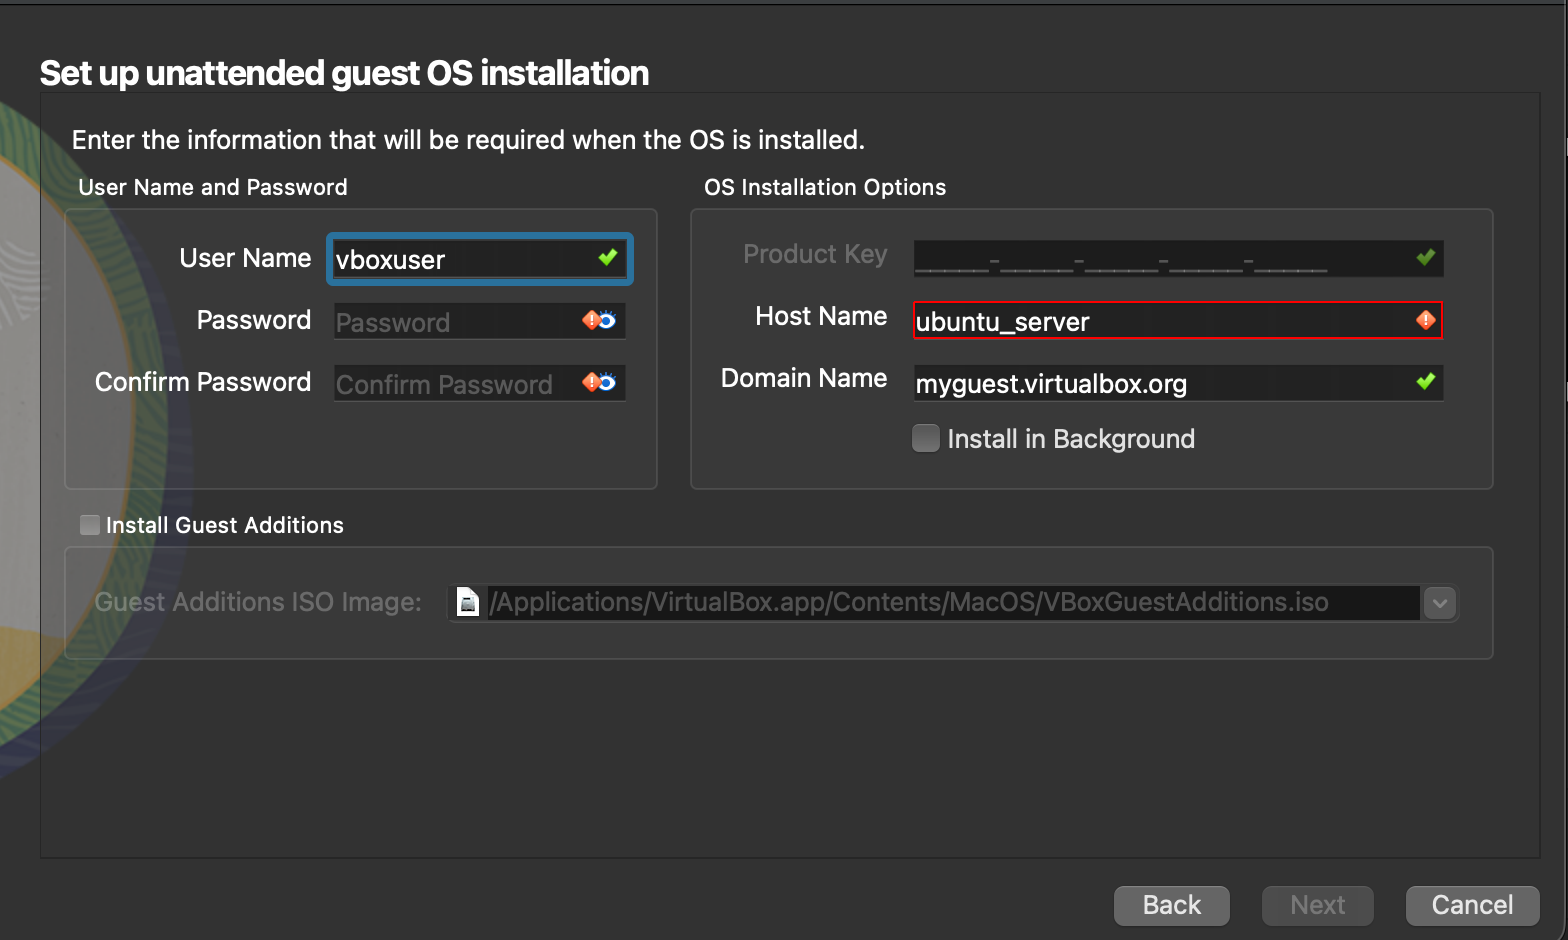
Settingsby right-clicking on the VM, then selectNetworkand forAdapter 2chooseBridged Adapterto allow the VM to access the same network as your host machine. - Set a username and password for the VM, as well as a hostname that does not contain spaces
- Once the VM is created, go to the settings and under "Storage," select the empty CD/DVD drive and choose the downloaded ISO file as the optical disk.
- Start the virtual machine and follow the installation prompts to install Ubuntu Server.
Configuring the VM for Ansible
After installing the operating system, there are a few things to configure on
the VM. First, ensure that SSH is installed and running, and for convenience
add your SSH key to the authorized_keys file for passwordless login. First
find the IP address of the VM:
ip addr show
Then from your host machine if needed first create an SSH key pair. Once that is done, copy the public key to the VM:
ssh-copy-id user@vm-ip-address
or
~/.ssh/YOUR_SSH_KEY.pub YOU@VM_IP_ADDRESS:/home/YOU/.ssh/authorized_keys
Next, install Python, as Ansible requires it to run modules on the target if
it is not already installed. You can do this by running the following command:
sudo apt update
sudo apt install python3
Finally, you can create an Ansible inventory file that includes the VM's IP address:
[raspberry_pi_test]
vm-ip-address ansible_user=user ansible_ssh_private_key_file=~/.ssh/YOUR_SSH_KEY
Testing Ansible
With the VM set up and configured along with the inventory file, you can use
the Ansible ping module to test the connection:
ansible -i inventory.ini raspberry_pi_test -m ping
If everything is set up correctly, you should see a pong response from the VM,
indicating that Ansible can successfully communicate with it. Happy Ansibling!